

A buttery, crumbly graham cracker crust is the secret to elevating any pie to perfection. With just 15 minutes from start to finish, this recipe delivers a golden, toasty base that’s both crisp and melt-in-your-mouth tender. The rich, sweet aroma of baked graham crackers and warm butter will fill your kitchen, promising a dessert that’s as comforting as it is delicious.
This versatile crust pairs beautifully with creamy cheesecakes, luscious fruit fillings, or silky custards, adding a delightful contrast of textures. Its simplicity ensures you can focus on the star of your dessert while still impressing with a homemade touch. Whether you’re a seasoned baker or a beginner, this foolproof recipe guarantees a flawless foundation every time.
Ingredients for Perfect Graham Cracker Crust
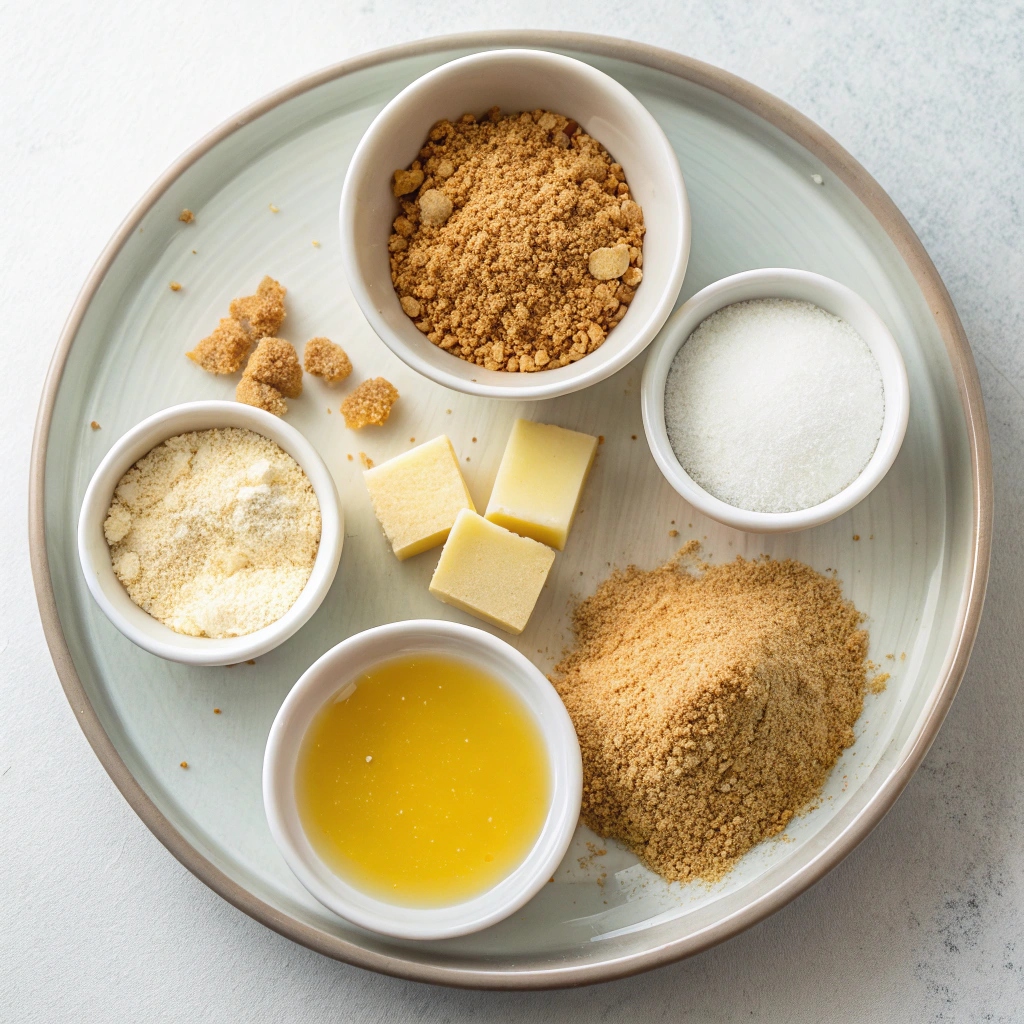
- 1 and 1/2 cups (180g) graham cracker crumbs (about 12 full sheet graham crackers)
- 1/4 cup (50g) granulated sugar
- 6 Tablespoons (85g) unsalted butter, melted
Step-by-Step Instructions
- If starting with full graham crackers, grind them into fine crumbs using a food processor, blender, or by placing them in a zip-top bag and crushing with a rolling pin.
- In a medium bowl, stir together the graham cracker crumbs and granulated sugar. Add the melted butter and mix until the mixture is thick, coarse, and sandy. Break up any large chunks.
- Pour the mixture into an ungreased 8-inch, 9-inch, or 10-inch pie dish, cake pan, springform pan, or square pan. Using medium pressure, pat the crumbs down into the bottom and up the sides to form a compact crust. Avoid packing too hard to prevent the crust from becoming overly dense.
- Tip: Use a small flat-bottomed measuring cup to press down the bottom crust and smooth the surface. For pies, run a spoon around the bottom “corner” where the edge and bottom meet to create a rounded edge, which helps prevent the crust from crumbling when sliced.
- For baked desserts, pre-bake the crust according to your filling recipe’s instructions. Typically, bake at 350°F (177°C) for 10 minutes. For no-bake desserts, cool the crust completely before adding the filling, unless the filling recipe specifies otherwise.
Recipe Variations to Spice It Up
Want to add a twist to your graham cracker crust? Try mixing in 1/4 teaspoon of cinnamon or 1/2 teaspoon of cocoa powder for a warm or chocolatey flavor. For a nutty crunch, add 2 tablespoons of finely chopped pecans or almonds to the crumb mixture. These small tweaks can elevate your dessert to the next level!
Time-Saving Tips for Busy Bakers
If you’re short on time, skip the food processor and grab a box of pre-crushed graham cracker crumbs from the store. You’ll save a few minutes without sacrificing quality. Another tip? Melt your butter in the microwave in 10-second intervals for quick, even results. These shortcuts make this crust even easier to whip up!
Storage and Reheating Made Simple
Store your graham cracker crust in an airtight container at room temperature for up to 2 days before filling. If you’ve already baked it, wrap it tightly in plastic wrap and freeze for up to 1 month. To reheat, simply pop it in the oven at 350°F (177°C) for 5 minutes to crisp it up again.
Equipment Guidance for Perfect Results
While a food processor is great for crushing graham crackers, a zip-top bag and rolling pin work just as well for fine crumbs. For pressing the crust, a small flat-bottomed measuring cup is a handy tool to ensure an even surface. No special equipment? Your hands will do the job perfectly!
Common Questions Answered
Wondering if you can use salted butter? Yes, but skip adding extra salt to avoid over-salting. Can you make this crust gluten-free? Absolutely! Swap graham crackers for gluten-free graham-style crackers. Need a vegan version? Use vegan butter instead of regular butter. These swaps make this recipe adaptable for any dietary needs.
Perfect Graham Cracker Crust
Ingredients
- 1 and 1/2 cups graham cracker crumbs (about 12 full sheet graham crackers)
- 1/4 cup granulated sugar
- 6 Tablespoons unsalted butter, melted
Instructions
- If you’re starting out with full graham crackers, use a food processor or blender to grind them into fine crumbs. You can also place them in a zip-top bag and crush them into fine crumbs with a little arm muscle and a rolling pin.
- Stir the graham cracker crumbs and granulated sugar together in a medium bowl, and then stir in the melted butter. The mixture will be thick, coarse, and sandy. Try to smash/break up any large chunks.
- Pour the mixture into an ungreased 8-inch, 9-inch, or 10-inch pie dish, cake pan, springform pan, or square pan. With medium pressure using your hand, pat the crumbs down into the bottom and up the sides to make a compact crust. Do not pack down with heavy force because that makes the crust too hard. Simply pat down until the mixture is no longer crumby/crumbly. Tip: You can use a small flat-bottomed measuring cup to help press down the bottom crust and smooth out the surface, but do not pack down too hard. If making a pie, run a spoon around the bottom “corner” where the edge and bottom meet to help make a rounded crust—this helps prevent the crust from falling apart when you cut slices.
- For a baked dessert, pre-bake this crust per your filling recipe’s directions. I usually pre-bake for 10 minutes at 350°F (177°C). For a no-bake dessert, cool the crust completely before using, unless your filling’s recipe instructs otherwise.