
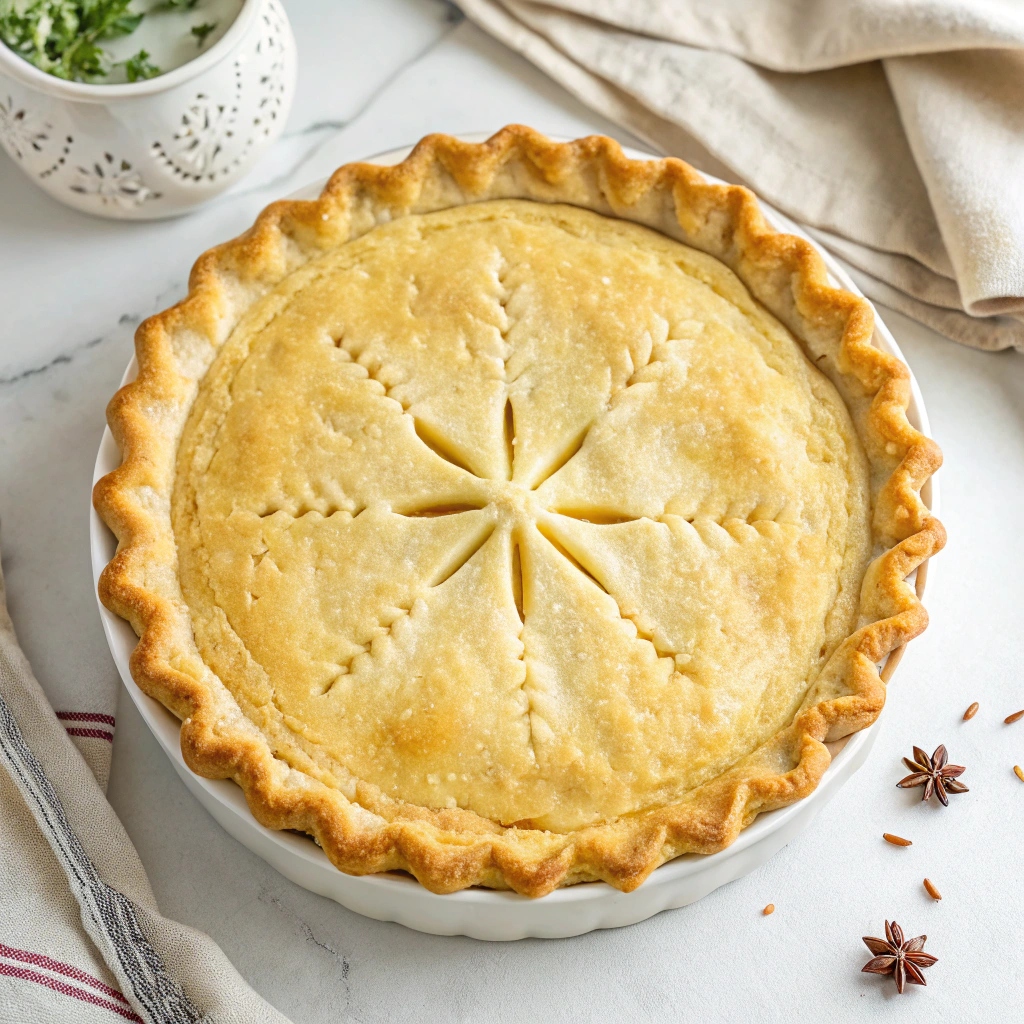
There’s something magical about a homemade buttery flaky pie crust that store-bought versions just can’t match. With its golden layers and melt-in-your-mouth texture, this crust is the perfect foundation for any pie. The secret lies in the balance of cold butter and precise technique, creating a tender yet crisp bite every time. In just 15 minutes of prep, you’ll have a dough that’s ready to chill and transform into a masterpiece.
This recipe yields two perfect crusts, making it ideal for double-crust pies or freezing for later. The rich, buttery flavor pairs beautifully with sweet or savory fillings, elevating your baking game effortlessly. After a 2-hour chill, the dough rolls out smoothly, promising a professional finish. Whether you’re a seasoned baker or a beginner, this crust will make your pies unforgettable.
Ingredients for Homemade Buttery Flaky Pie Crust
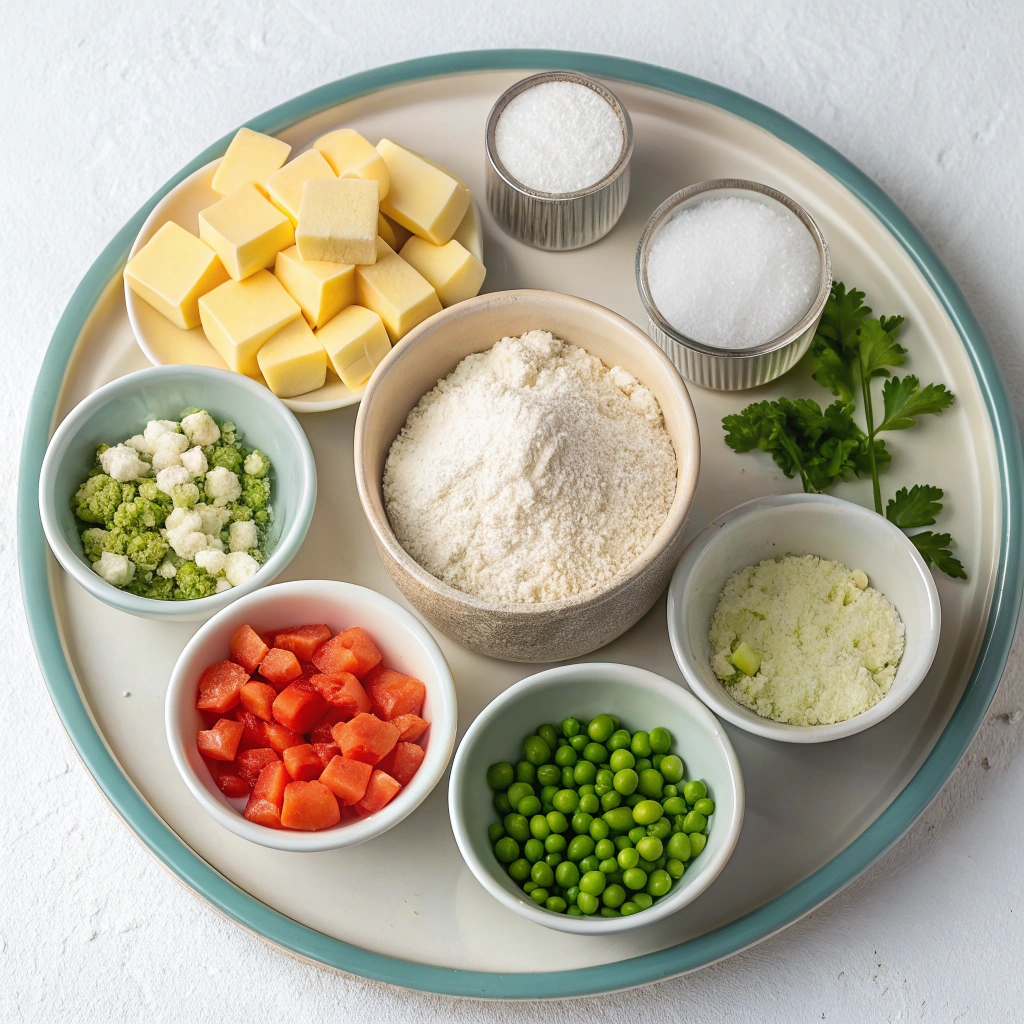
- 2 and 1/2 cups (315g) all-purpose flour (spooned & leveled), plus more for shaping and rolling
- 1 teaspoon salt
- 6 Tablespoons (85g) unsalted butter, chilled and cubed
- 2/3 cup (130g) vegetable shortening, chilled
- 1/2 cup (120ml) ice cold water (measure after adding ice and letting it melt slightly)
Step-by-Step Instructions
- Mix dry ingredients: In a large bowl, whisk together the flour and salt.
- Cut in fats: Add the chilled butter and shortening. Use a pastry cutter or two forks to cut the fats into the flour mixture until it resembles coarse meal (pea-sized bits with a few larger pieces are fine). Avoid overworking the mixture.
- Add water: Measure 1/2 cup (120ml) of ice water. Drizzle it into the mixture, 1 Tablespoon (15ml) at a time, stirring with a rubber spatula or wooden spoon after each addition. Stop when the dough forms large clumps. You may not need all the water, but a little extra may be needed in dry conditions.
- Form the dough: Transfer the dough to a floured surface. Fold it into itself with floured hands until fully combined. If too dry, dip your fingers in ice water; if too sticky, sprinkle with flour. Shape into a ball, then cut it in half. Flatten each half into a 1-inch-thick disc.
- Chill: Wrap each disc tightly in plastic wrap and refrigerate for at least 2 hours (or up to 5 days).
- Roll out the dough: Work with one disc at a time. Lightly flour your work surface, rolling pin, and hands. Roll the dough from the center outward, rotating and flipping it to prevent sticking. Roll into a 12-inch circle, about 1/8 inch thick. Visible butter specks are normal.
- Transfer to pie dish: Carefully roll the dough onto the rolling pin, then unroll it over a 9-inch pie dish. Press gently into the dish.
- Proceed with your recipe: Use the crust as directed. If par-baking is required, follow a par-baking tutorial.
Perfect Pairings: Sauce and Topping Ideas
This buttery, flaky pie crust is a versatile base for both sweet and savory creations. For sweet pies, try pairing it with a homemade caramel drizzle or a dollop of whipped cream for added indulgence. If you’re making a savory pie, consider a herb-infused gravy or a sprinkle of grated Parmesan cheese before baking for a golden, flavorful finish.
Storage and Reheating Tips
Unbaked pie dough can be stored in the refrigerator for up to 5 days or frozen for up to 3 months. Wrap it tightly in plastic wrap and place it in a freezer-safe bag. To thaw, transfer it to the fridge overnight. For baked crusts, store them in an airtight container at room temperature for up to 2 days or freeze for longer storage. Reheat in a 350°F (175°C) oven for 5-10 minutes to restore crispiness.
Time-Saving Tricks for Busy Bakers
If you’re short on time, prepare the dough in advance and refrigerate or freeze it. You can also use a food processor to cut the butter and shortening into the flour mixture—just pulse until it resembles coarse meal. This method cuts prep time in half while still delivering a flaky crust. Remember, less handling equals a more tender result!
Common Questions Answered
Can I use all butter instead of shortening? Yes, but the crust may be slightly less flaky. For a richer flavor, substitute the shortening with an equal amount of chilled butter. Why is my dough crumbly? It likely needs a bit more water—dip your fingers in ice water and gently press the dough together. Can I skip chilling the dough? Chilling is essential for a flaky texture, so don’t skip this step!
Special Notes for Success
Keep all ingredients cold to ensure a flaky crust. If the dough starts to warm up while rolling, pop it back in the fridge for 10 minutes. Don’t worry if you see visible butter specks—they’re key to creating those perfect, flaky layers. Finally, patience is your friend; take your time rolling and transferring the dough for the best results.
Homemade Buttery Flaky Pie Crust
Ingredients
- 2 and 1/2 cups all-purpose flour (spooned & leveled), plus more for shaping and rolling
- 1 teaspoon salt
- 6 Tablespoons unsalted butter, chilled and cubed
- 2/3 cup vegetable shortening, chilled
- 1/2 cup ice cold water
Instructions
- Whisk the flour and salt together in a large bowl.
- Add the butter and shortening. Using a pastry cutter or two forks, cut the butter and shortening into the mixture until it resembles coarse meal (pea-sized bits with a few larger bits of fat is OK). In this step, you’re only breaking up the cold fat into tiny little flour-coated pieces; you’re not completely incorporating it. Do not overwork the ingredients.
- Measure 1/2 cup (120ml) of water in a cup. Add ice. Stir it around. From that, measure 1/2 cup (120ml) of water, since the ice has melted a bit. Drizzle the cold water in, 1 Tablespoon (15ml) at a time, and stir with a rubber spatula or wooden spoon after every Tablespoon has been added. Stop adding water when the dough begins to form large clumps. I always use about 1/2 cup of water, and need a little more in dry winter months. Do not add any more water than you need.
- Transfer the pie dough to a floured work surface. Using floured hands, fold the dough into itself until the flour is fully incorporated into the fats. The dough should come together easily and should not feel overly sticky. Avoid overworking the dough. If it feels a bit too dry or crumbly, dip your fingers in the ice water and then continue bringing dough together with your hands. If it feels too sticky, sprinkle on more flour and then continue bringing dough together with your hands. Form it into a ball. Use a sharp knife to cut it in half. If it’s helpful, you should have about 1 lb, 8 ounces dough total (about 680g). Gently flatten each half into 1-inch-thick discs using your hands.
- Wrap each tightly in plastic wrap. Refrigerate for at least 2 hours and up to 5 days.
- After the dough has chilled for at least 2 hours, you can roll it out. Work with one crust at a time, keeping the other in the refrigerator until you’re ready to roll it out. Lightly flour the work surface, rolling pin, and your hands, and sprinkle a little flour on top of the dough. Use gentle-medium force with your rolling pin on the dough—don’t press down too hard on the dough; you’re not mad at it! When rolling dough out, start from the center and work your way out in all directions, turning the dough with your hands as you go. Between passes of the rolling pin, rotate the pie crust and even flip it, to make sure it’s not sticking to your work surface. Sprinkle on a little more flour if it’s sticking; don’t be afraid to use a little more flour. If you notice the dough becoming a lopsided circle as you’re rolling it out, put down the rolling pin and use your hands to help mold the dough back into an even circle. Roll the dough into a very thin 12-inch circle, which is the perfect size to fit a 9-inch pie dish. Your pie dough will be about 1/8 inch thick, which is quite thin. Visible specks of butter and fat in the dough are perfectly normal and expected.
- Because your dough is so thin, use your rolling pin to help transfer the pie crust to the pie dish. Carefully roll one end of the circle of dough gently onto the rolling pin, rolling it back towards you, slowly peeling it off the work surface as you go. Pick it up, and carefully roll it back out over the top of the pie dish. It’s helpful to watch how I do it in the video below.
- Proceed with the pie per your recipe’s instructions. If your dough requires par-baking, see helpful How to Par-Bake Pie Crust tutorial.