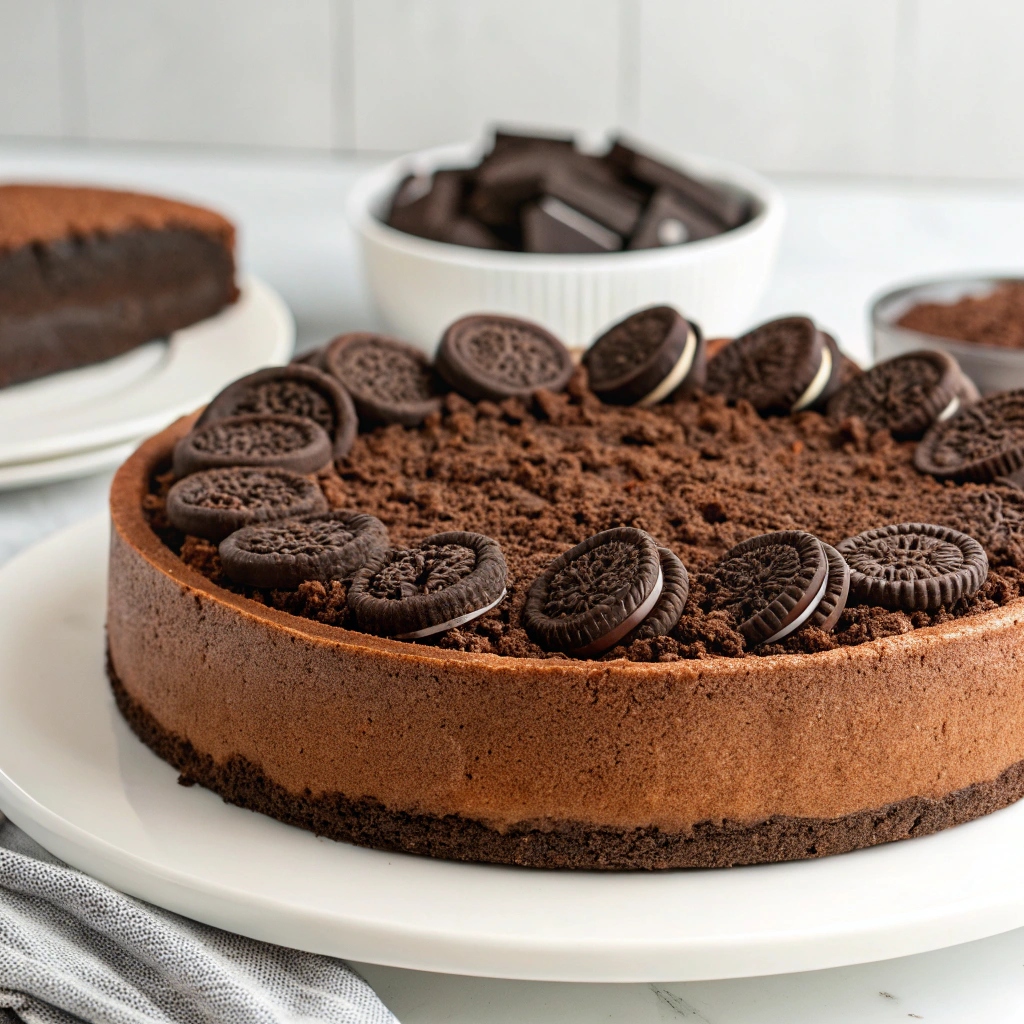
This Perfect Oreo Cookie Crust is a game-changer for any dessert lover, offering a rich, chocolatey base that’s irresistibly crunchy yet tender. With just 5 minutes of prep and a quick bake if needed, it’s the ultimate shortcut to elevating pies, cheesecakes, or even no-bake treats. The blend of finely crushed Oreos and melted butter creates a velvety texture that melts in your mouth, while the deep cocoa flavor adds a decadent touch. Whether you’re a seasoned baker or a beginner, this crust is foolproof and ready in 15 minutes, making it the perfect foundation for your next showstopping dessert.
Every bite of this crust delivers a satisfying contrast of crisp edges and a buttery, crumbly center that pairs beautifully with creamy fillings or tangy fruit toppings. Its versatility shines, effortlessly complementing everything from silky chocolate mousse to zesty lemon curd. The aroma of toasted cookies wafting from the oven is pure comfort, promising a dessert that’s as nostalgic as it is indulgent. Simple, quick, and utterly delicious, this Oreo crust is your secret weapon for creating desserts that will have everyone asking for seconds.
Ingredients for Perfect Oreo Cookie Crust
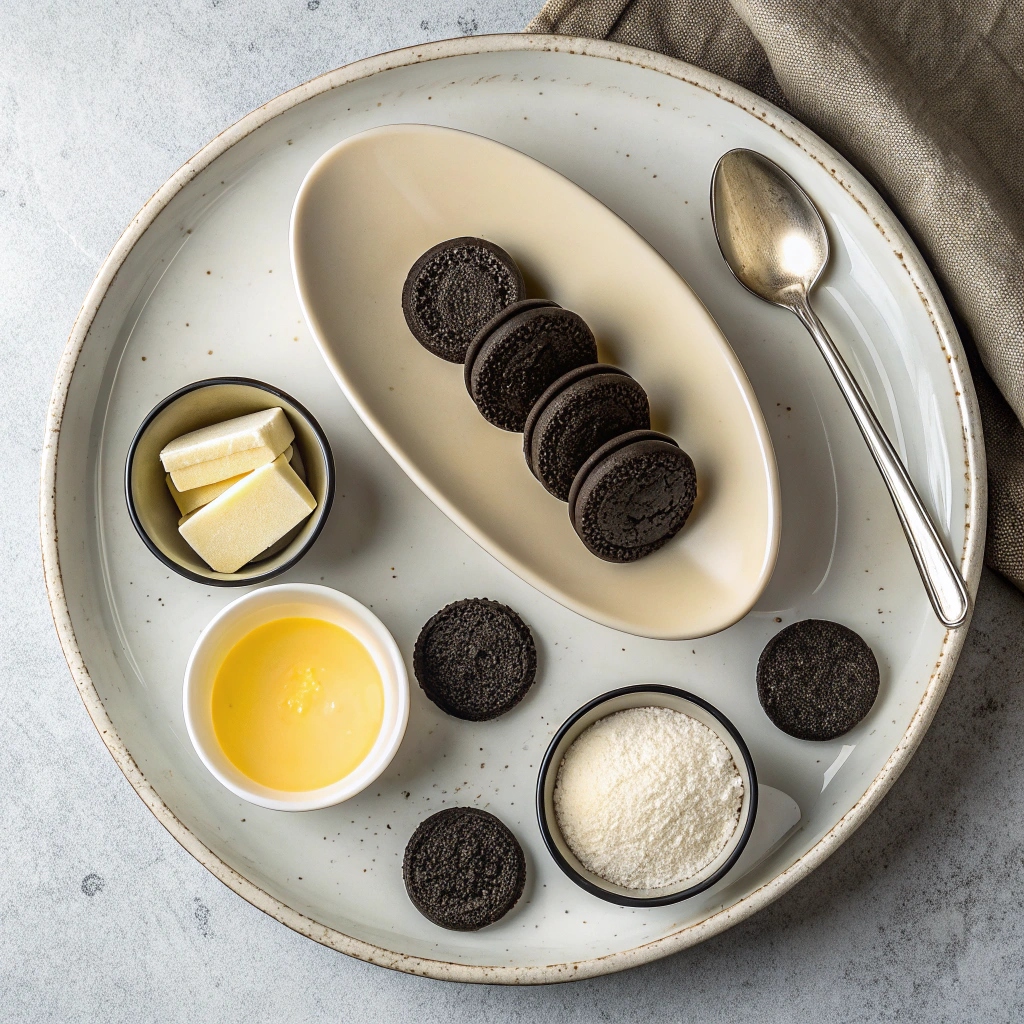
- 22 regular Oreo cookies (including the cream filling)
- 5 Tablespoons (71g) unsalted butter, melted (substitute with salted butter if preferred, but adjust salt in the recipe if needed)
Step-by-Step Instructions
- Make the crust: In a food processor or blender, pulse the 22 Oreos into fine crumbs. Alternatively, place them in a zip-top bag and crush with a rolling pin until you achieve fine crumbs. You should have about 2 cups (packed) or 250g of crumbs. Transfer the crumbs to a large bowl.
- Add the butter: Pour the melted butter over the crumbs and stir until fully combined. The mixture will be thick and wet. Break up any large chunks with your spoon or hands.
- Form the crust: Pour the mixture into an ungreased 8-inch, 9-inch, or 10-inch pie dish, cake pan, springform pan, or square pan. Using medium pressure, pat the crumbs down into the bottom and up the sides to create a compact, thick crust. If the mixture seems too wet and isn’t forming well, grind up 2 additional Oreos and mix in the extra crumbs.
- Shape and smooth: Use a small flat-bottomed measuring cup to press down the bottom crust and smooth the surface. Avoid packing too hard. For a pie crust, run a spoon around the bottom “corner” where the edge and bottom meet to create a rounded shape—this helps prevent the crust from crumbling when sliced.
- Bake (if needed): For baked desserts, pre-bake the crust according to your filling recipe’s instructions. Typically, bake at 350°F (177°C) for 8–10 minutes. For no-bake fillings, bake for 10–12 minutes at the same temperature. Cool the crust completely before using, unless your no-bake recipe states otherwise.
Creative Topping Ideas for Your Oreo Crust
Take your Oreo crust to the next level with these delicious toppings! For a classic treat, try a creamy chocolate ganache or a layer of whipped cream with crushed Oreo pieces. If you’re feeling adventurous, drizzle with caramel sauce or sprinkle with sea salt for a sweet-and-salty twist. For a fruity contrast, add fresh strawberries or raspberries on top.
Storage Tips to Keep Your Crust Fresh
Store your Oreo crust in an airtight container at room temperature for up to 2 days. For longer storage, wrap it tightly in plastic wrap and freeze for up to 1 month. When ready to use, let it thaw at room temperature for 15–20 minutes before adding your filling.
Time-Saving Tips for Busy Bakers
If you’re short on time, use a pre-made Oreo crumb mix instead of grinding the cookies yourself. You can also prepare the crust a day ahead and store it in the fridge until you’re ready to bake or fill. For quicker cleanup, line your pan with parchment paper before pressing in the crust.
Recipe Variations to Mix It Up
Experiment with different Oreo flavors like mint, peanut butter, or golden for a unique twist. You can also swap the melted butter for coconut oil for a slightly nutty flavor. For a gluten-free option, use gluten-free Oreo-style cookies instead.
Common Questions Answered
Can I use a different pan size?
Absolutely! This recipe works for 8-inch, 9-inch, or 10-inch pans—just adjust the thickness of the crust.
Do I have to bake the crust?
Only if your filling recipe requires it. For no-bake desserts, simply chill the crust in the fridge for 30 minutes before adding the filling.

Perfect Oreo Cookie Crust Recipe
Ingredients
- 22 regular Oreo cookies
- 5 Tablespoons unsalted butter, melted 71g
Instructions
- Make the crust: In a food processor or blender, pulse 22 Oreos (including the cream filling) into a fine crumb. You can also place them in a zip-top bag and crush them into fine crumbs with a little arm muscle and a rolling pin. You should have about 2 cups (packed) crumbs, or 250g. Pour crumbs into a large bowl.
- Add the melted butter and stir to combine. The mixture will be thick and quite wet. Try to smash/break up any large chunks.
- Pour the mixture into an ungreased 8-inch, 9-inch, or 10-inch pie dish, cake pan, springform pan, or square pan. With medium pressure using your hand, pat the crumbs down into the bottom and up the sides to make a compact, thick crust. If the mixture seems really wet and is not forming a nice crust, grind up 2 more Oreos and mix those crumbs in. Tip: You can use a small flat-bottomed measuring cup to help press down the bottom crust and smooth out the surface, but do not pack down too hard. If making a pie, run a spoon around the bottom “corner” where the edge and bottom meet to help make a rounded crust—this helps prevent the crust from falling apart when you cut slices.
- For a baked dessert, pre-bake this crust per your filling recipe directions. I usually pre-bake for 8–10 minutes at 350°F (177°C). For a no-bake filling such as cookies & cream pie, bake for 10–12 minutes at 350°F (177°C). Cool the crust completely before using, unless your no-bake filling recipe instructs otherwise.